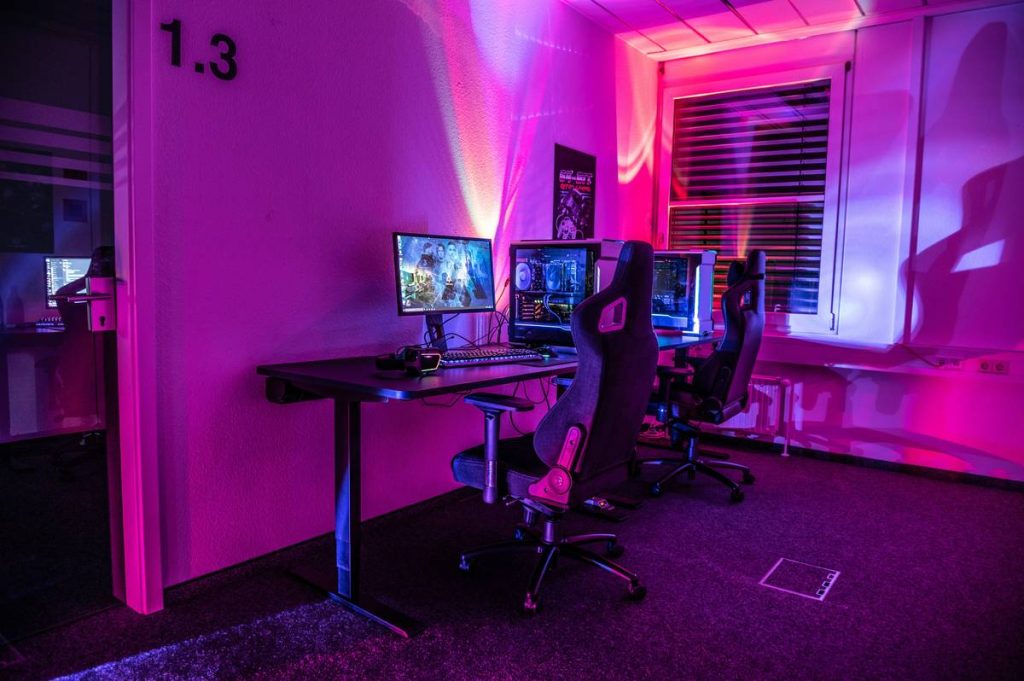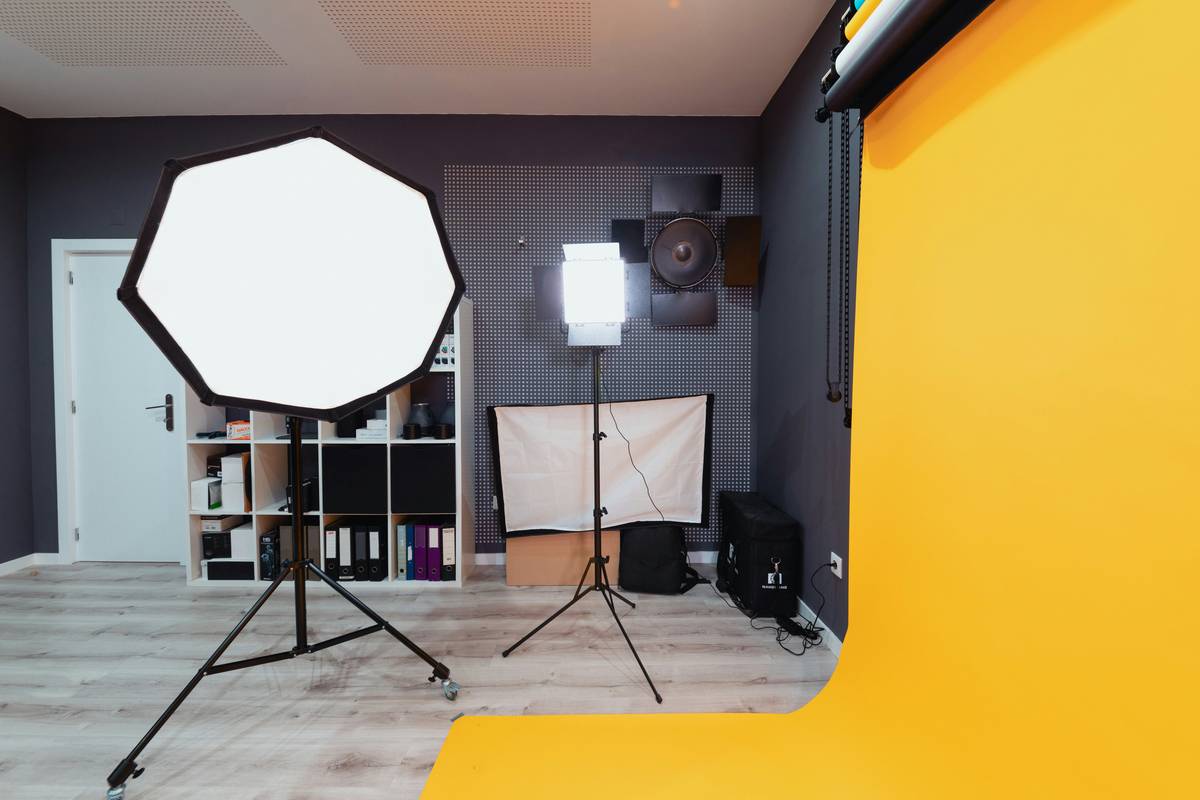
Your stream looks like a basement interrogation tape. Grainy. Flat. Your face disappears into shadows the moment you lean back. You’ve tried ring lights, cheap panels, even a desk lamp duct-taped to your monitor—nothing fixes it. Here’s the truth: how to light yourself for streaming isn’t about gear. It’s about geometry, contrast, and one brutal industry secret most streamers never hear.
Why 90% of Stream Lighting Fails (Spoiler: It’s Not the Budget)
Most streamers slap a single light source directly in front of their face and call it a day. Big mistake. That creates zero dimension—your features flatten out like a passport photo. And if that light’s too harsh? You look sweaty under interrogation lights. Too soft? You vanish into a foggy void. The problem isn’t cost—it’s physics. Human faces need shadow to read as three-dimensional. Without it, your stream feels lifeless, like a corporate Zoom call from 2020.
How to Light Yourself for Streaming: A Step-by-Step Blueprint
Forget “more lights = better.” Precision beats power every time. Start with three zones: key, fill, and background. But don’t just copy Hollywood—you’re not filming a feature. You’re optimizing for a 1080p window inside someone’s Discord overlay.
Position Your Key Light Like a Pro (Not a Photographer)
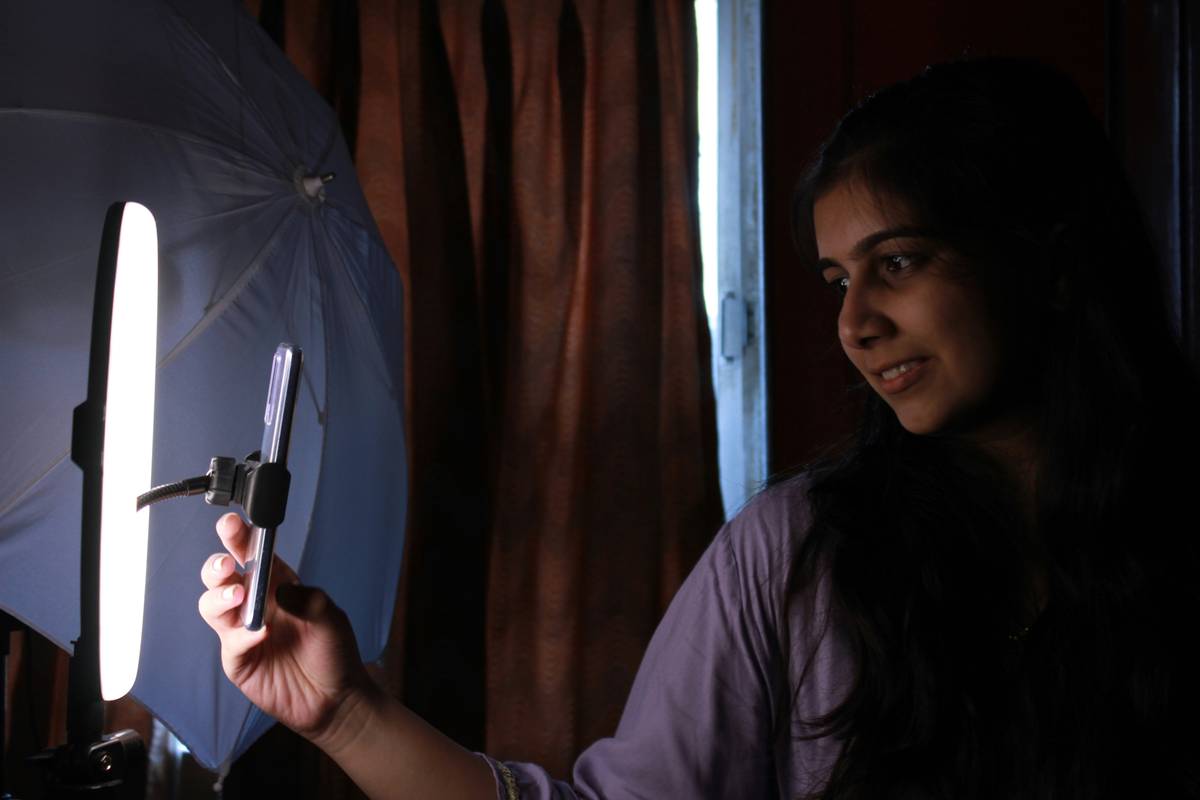
Place your main light at 45 degrees to your camera—not dead center. Raise it slightly above eye level so shadows fall downward (not across your nose like a ski slope). Use a diffuser. A $20 LED panel with diffusion beats a $200 bare bulb. Aim for 5600K color temperature—daylight balance cuts through screen glare.
Kill the Fill Light Myth
You don’t need a second light opposite your key. Bounce your key off a white foam board instead. Cheaper. Softer. Zero extra cables. And if your room has neutral walls? Let ambient light do the fill work. Less gear = fewer hotspots on your webcam feed.
Add Depth with a Hair Light (Yes, Even for Short Hair)
A tiny backlight aimed at the top/back of your head separates you from that messy bookshelf behind you. Set it 1-2 stops dimmer than your key. No fancy gear needed—a smart bulb in a clamp lamp works if you dial in the right temp.
| Lighting Method | Startup Cost | Setup Time | Streaming Impact |
|---|---|---|---|
| Single Ring Light | $30–$80 | 2 mins | Poor depth, harsh shadows under eyes |
| 3-Point DIY (LED + bounce + hair light) | $70–$120 | 15 mins | Cinematic separation, natural skin tones |
| Softbox Studio Kit | $200+ | 30+ mins | Overkill for webcam—washed-out highlights |
The Industry Secret: Your Camera Settings Dictate Your Lighting
Here’s what no one tells you: your lighting must match your camera’s dynamic range—not your eyes. Most webcams (even Logitech C920s) crush shadows below -30 IRE. That means if your fill side dips too dark, it turns to digital mud. Solution? Slightly overexpose your key by +0.3 EV in OBS or Streamlabs. Then, drop your background light just enough so your face pops—but not so much that your RGB strips turn into glowing tombstones. The math is simple: your face should be 1.5x brighter than your backdrop. Meter it with your phone’s light meter app. Yes, really.
FAQ
What color temperature is best for streaming lights?
5600K (daylight) is ideal. It matches most screen whites and reduces yellow cast. Avoid 3200K—it makes skin look jaundiced on camera.
Can I use natural light for streaming?
Only if you stream at the same time daily. Sunlight shifts color and intensity fast—your exposure will drift mid-stream. Not worth the inconsistency.
Do I need expensive lights to look professional?
No. Two well-placed $40 LED panels with diffusion beat a $300 kit used poorly. Position and diffusion matter more than brand.