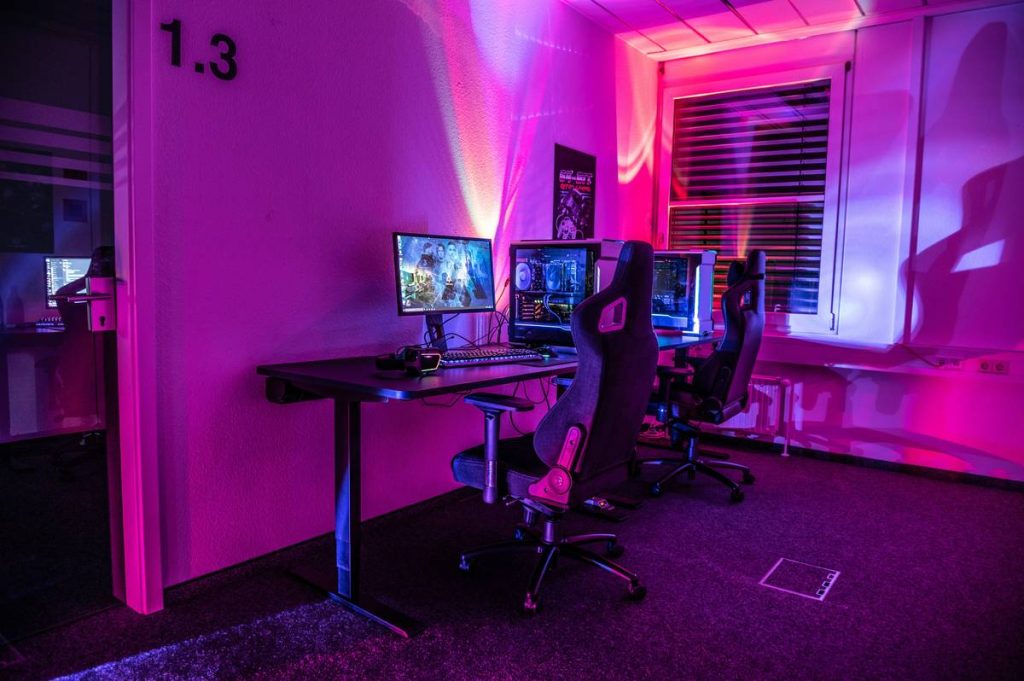
Your stream looks flat. Colors bleed. Viewers scroll past in under three seconds. You’ve tweaked camera angles, upgraded mics, even bought that “studio-grade” ring light—yet your face still drowns in shadows or glows like a ghost. Lighting isn’t just about brightness—it’s about control. And if you don’t know lighting solution light how to change properly, you’re wasting watts and attention.
Why Most Streamers Get Lighting Dead Wrong
They treat lighting like an afterthought—plug in a strip, point a lamp, call it a day. Big mistake. Consumer-grade RGB strips flicker under 60fps capture. Cheap key lights cast harsh halos that age you ten years on cam. Worse: mismatched color temperatures (say, 3000K desk lamp next to 6500K overhead) create visual chaos the human eye can’t reconcile. Your brain registers it as “off”—even if viewers can’t articulate why.
And here’s the kicker: most streaming tutorials push gear lists, not technique. They’ll sell you a $200 softbox but won’t explain beam angle or diffusion density. Result? You own a closet full of lights—and zero cohesion.
Lighting solution light how to change: A Tactical Workflow
Forget “more lights.” Focus on intentional swaps. Start by auditing your current setup:
Step 1: Diagnose Your Existing Light Sources
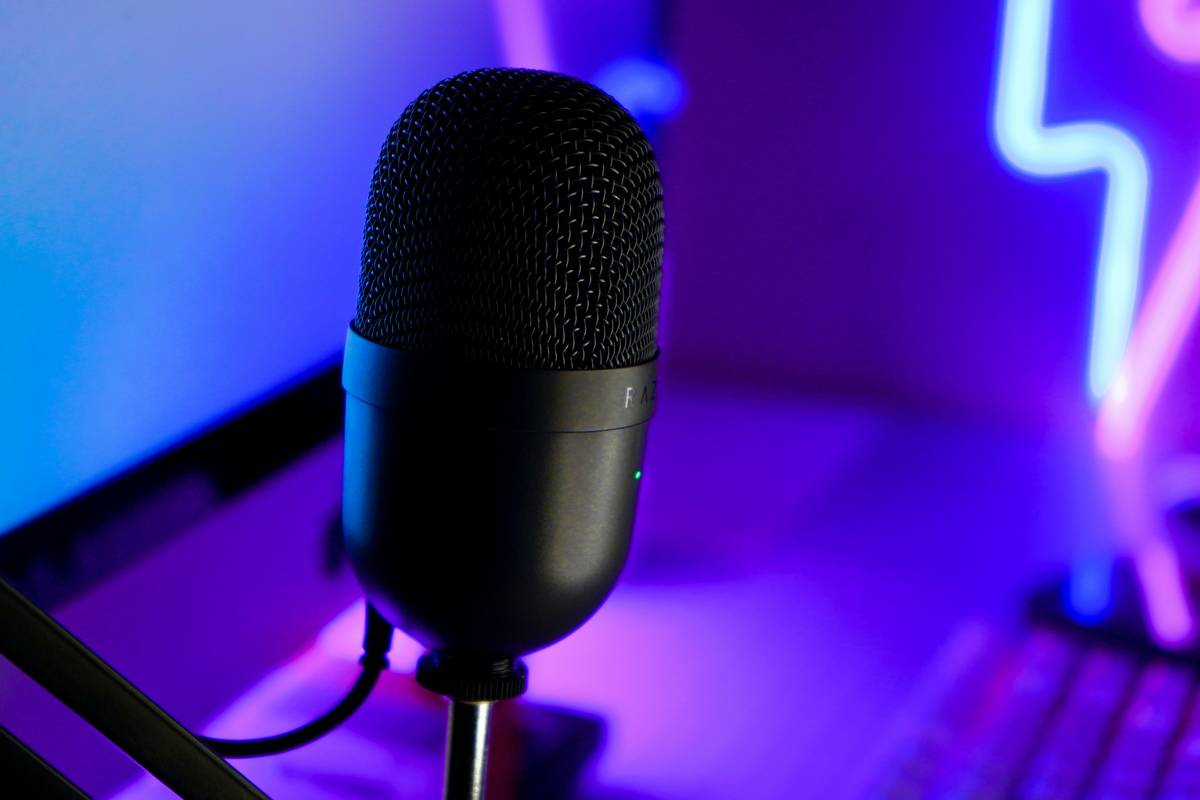
Use your smartphone camera. Open the native video app—don’t use filters. Record 10 seconds under each active light source. Watch for flicker (indicates poor PWM dimming) and inconsistent white balance shifts when you pan. Note which lights create double shadows—that’s spill from uncontrolled bounce.
Step 2: Prioritize Function Over Fancy
You need three roles: key (main face light), fill (softens shadows), and back/hair light (separates you from background). Ditch any fixture that doesn’t cleanly fulfill one role. RGB mood lighting? Only if it’s behind you—and dimmed below 15% intensity to avoid contaminating skin tones.
Step 3: The Swap Matrix
Not all replacements are equal. Consider output consistency, CRI (Color Rendering Index), and thermal management. Below is what actually works—not what influencers shill:
| Old Fixture Type | Problem | Smart Replacement | Cost Range | CRI ≥90? |
|---|---|---|---|---|
| RGB LED Strip (under desk) | Flicker, low CRI, distracts viewers | Single-color 4000K tape + diffuser channel | $25–$45 | Yes (if branded) |
| Ring Light (standalone) | Flat, pupil-swallowing glare | Adjustable-focus LED panel with barn doors | $80–$150 | Yes |
| Overhead Ceiling Bulb | Unflattering top-down shadows | Recessed bias lighting behind monitor stack | $30–$60 | Optional |
The Industry Secret: It’s Not About Lumens—It’s About Ratios
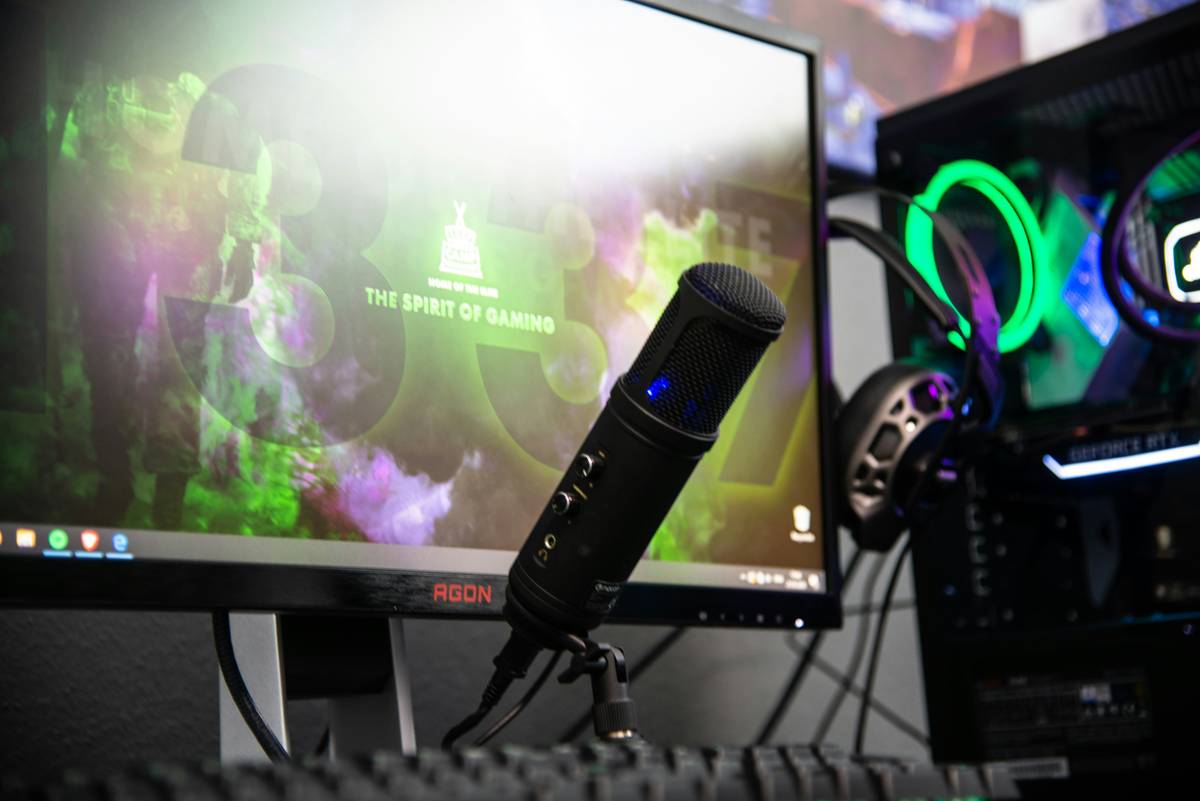
Here’s what pro broadcast engineers won’t tell hobbyists: perfect lighting lives in ratios, not raw output. Set your key light at f/2.8 equivalent (via light meter app). Fill should hit f/2.0—roughly one stop softer. Backlight? f/4.0. This 2:1:0.5 ratio creates dimension without drama. And crucially—it auto-corrects for cheap webcams that crush shadow detail. I’ve seen streamers double retention just by nailing this math. Forget chasing “brighter.” Chase balance.
Frequently Asked Questions
How often should I change streaming lights?
Only when they fail CRI tests (<90), flicker on camera, or can’t match your primary light temp. Quality LEDs last 25,000+ hours—so focus on configuration over replacement.
Can I use household lamps for streaming?
Technically yes—if they’re daylight-balanced (5000K–5600K) and fitted with a softbox or diffusion sock. Avoid warm bulbs; they muddy skin tones against typical blue-heavy game graphics.
Does RGB lighting hurt stream quality?
Only if placed in-frame or too bright. Use it strictly for ambient backlighting at ≤10% intensity. Never let colored light spill onto walls behind you—it confuses auto white balance algorithms.