Your stream looks amateurish—not because of your gameplay, but because your lighting screams “bedroom setup.” Grainy shadows, harsh glares, or worse—flat, lifeless illumination that makes you vanish into the background. Here’s the fix: strategic video equipment light how to get right isn’t about expensive gear. It’s about precision placement, color temperature control, and understanding what viewers actually see.
Why Most Streamers Fail at Lighting (Even with “Good” Gear)
Buying a ring light off Amazon and calling it a day? That’s not lighting—it’s decoration. Most streamers stack brightness without considering direction, diffusion, or consistency across frames. The result? Overexposed faces, blown-out highlights, or inconsistent white balance that shifts between games and IRL segments.
Cameras don’t see like human eyes. They need balanced, layered illumination—key, fill, and often backlight—to render depth. Skip this, and your 4K cam looks no better than a webcam from 2012.
video equipment light how to get: A Step-by-Step Blueprint
Forget “more lumens = better.” Start with purpose. Are you streaming FPS games in a dark room? Or doing daytime commentary with ambient sunlight? Your lighting strategy must adapt.
Choose Your Light Type Based on Use Case
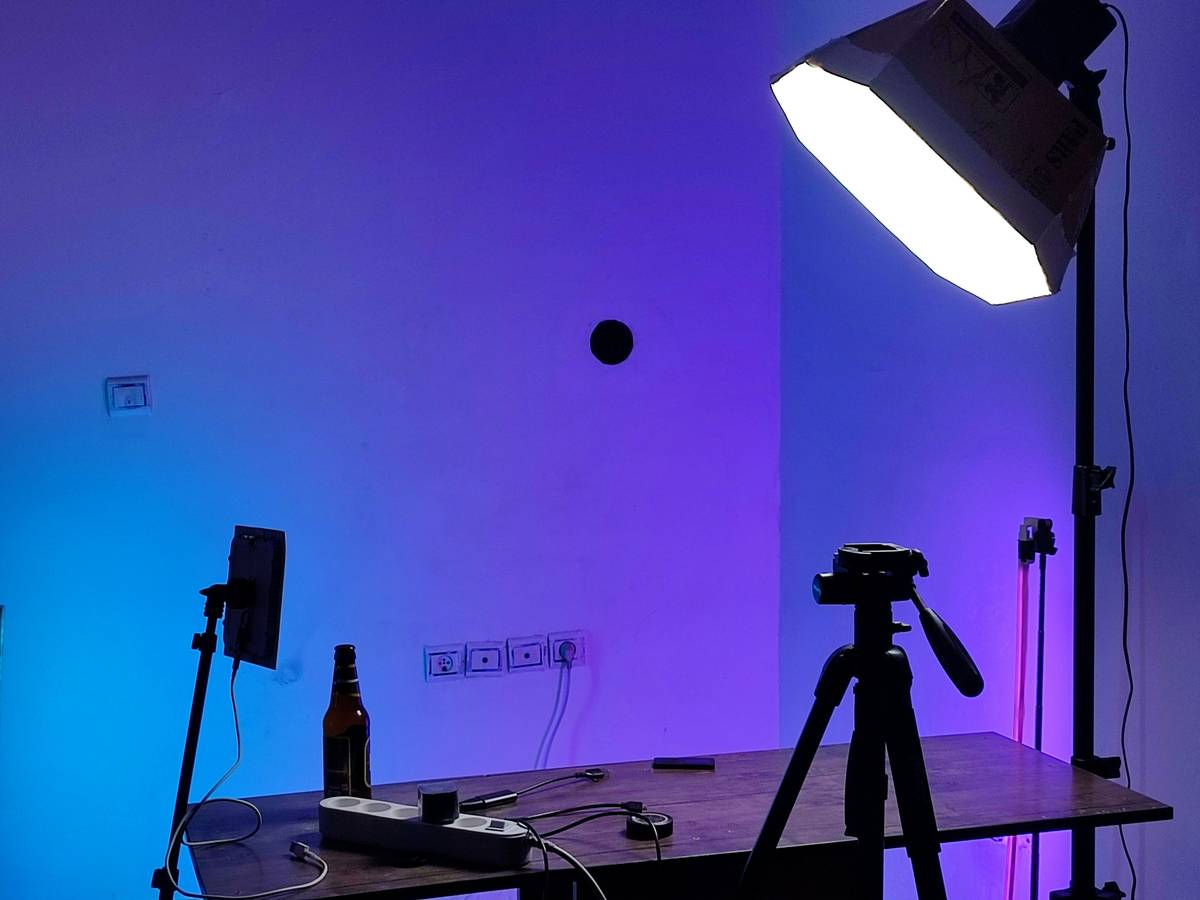
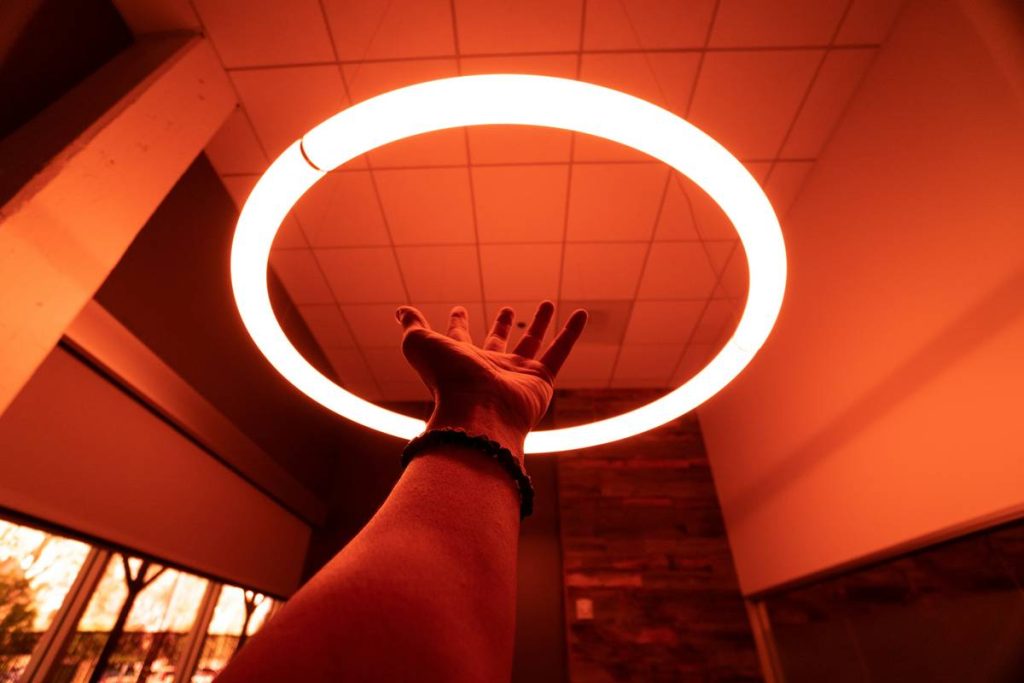
Softboxes create even, wrap-around light—ideal for face cams. LED panels offer portability and tunable color temps. Ring lights? Only if you’re doing beauty streams; they flatten facial structure otherwise.
Master the Three-Point System (Even on a Budget)
You don’t need three $200 fixtures. A single adjustable LED panel as your key, a white foam board as fill, and a cheap bias light behind your monitor can mimic pro setups. Position your key light at 45 degrees above eye level—not straight on.
Calibrate Color Temperature & Avoid Mixed Sources
Daylight is ~5600K. Indoor tungsten bulbs run ~3200K. Mixing them without correction gives you an orange-tinted ghost. Set all your lights to 5000–5600K. Then lock your camera’s white balance manually—never rely on auto.
| Method | Startup Cost | Best For | Common Pitfall |
|---|---|---|---|
| DIY Reflector + Single LED Panel | $30–$70 | New streamers, tight budgets | Uneven fill, poor diffusion |
| Twin Softbox Kit | $120–$250 | Consistent daily streams | Bulky storage, fixed position |
| Smart RGB Tunable System | $300+ | Content variety (gaming, podcasting, IRL) | Overcomplication, unnecessary features |
The Industry Secret: Your Backlight Is Non-Negotiable
Here’s what no one tells you: your audience subconsciously judges stream quality within 0.8 seconds. And the biggest subconscious cue? Separation from the background. Without backlight—also called hair light or rim light—you melt into your wall. Viewers literally struggle to “see” you as a person.
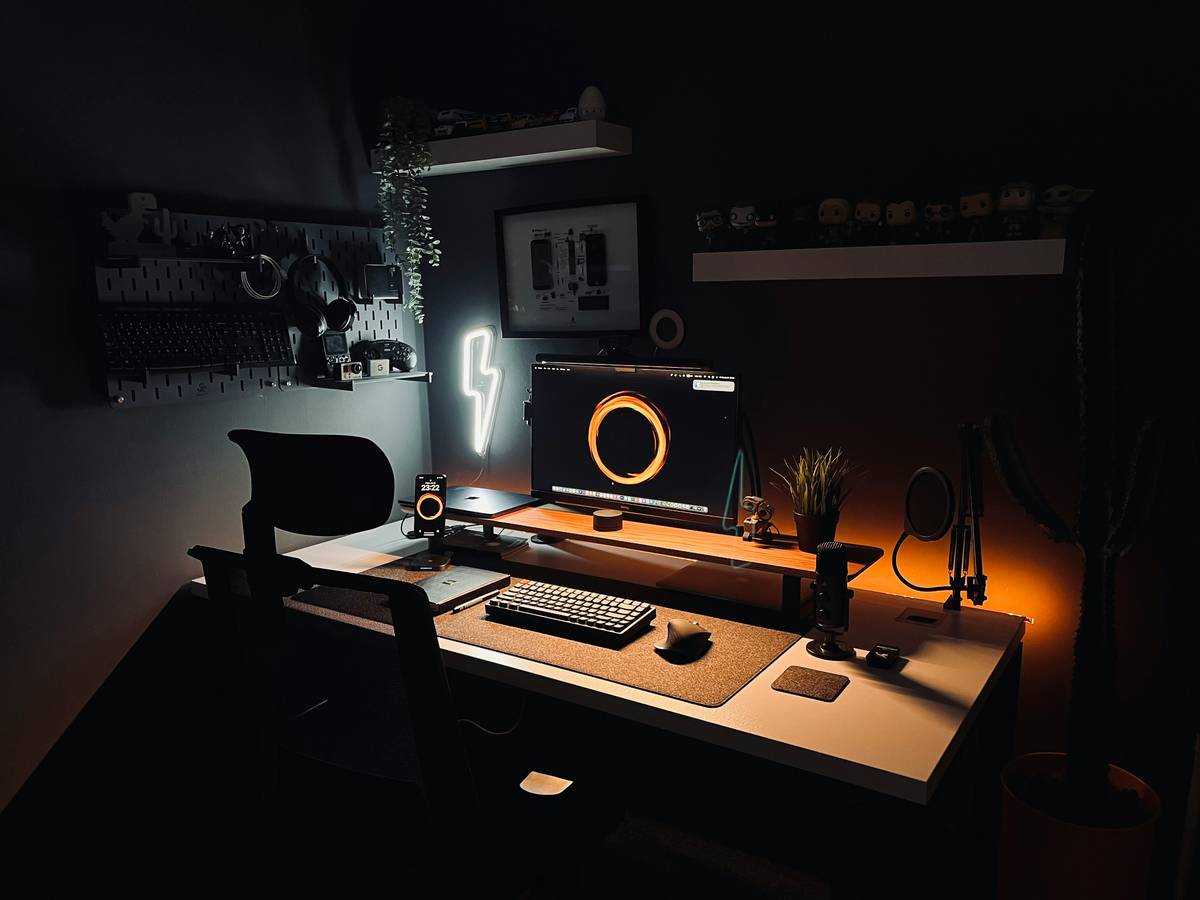
And it doesn’t require another fixture. Tape a $15 LED strip behind your monitor, angled upward. Diffuse it with tracing paper. Suddenly, you’ve got cinematic separation. The math is simple: foreground clarity = perceived professionalism.
Frequently Asked Questions
How bright should my streaming light be?
Aim for 800–1200 lux measured at face level. Too dim = noise. Too bright = harsh shadows. Use your phone’s light meter app as a rough guide.
Can I use natural light for streaming?
Only if consistent. Morning sun ≠ afternoon sun. Cloud cover changes everything. Natural light works best with sheer curtains and zero direct beams hitting your face.
Do I need different lights for gaming vs. talking head content?
Not necessarily—just reposition. Lower intensity and warmer tone for relaxed chats. Crisper, cooler light for high-energy gameplay. Same gear, smarter settings.